Instance: create
The creation of a virtual machine can be done using the Horizon Dashboard, using the Command Line Interface or with customized Ansible and Terraform scripts to automate the process (Declarative and procedural approaches to IaC). You are free to choose any of these methods. However, there are a few mandatory steps that must be followed before creating a virtual machine.
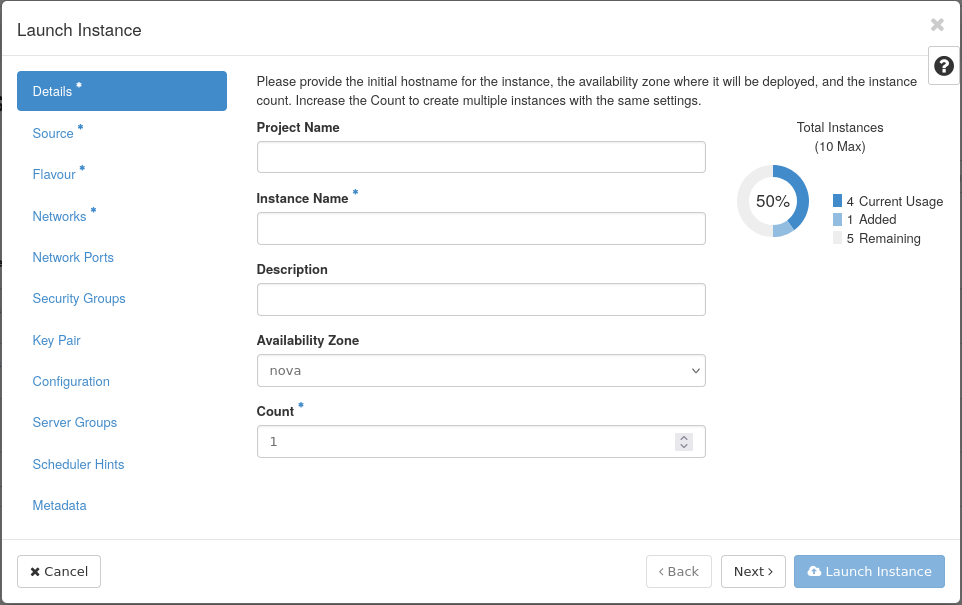
This page will guide you step by step in the creation of a virtual machine with the Openstack Horizon Dashboard.
Important
Prerequisites: In order to create and boot a virtual machine, you need have already created the following resources
A tenant network → Network: create
A security group → Security groups: create
A key-pair (it is possible to create a new key-pair during instance creation or upload a preexisting pair) → Key Pair: create
Virtual machine creation
Once you have completed the above steps, you can proceed to create a Virtual Instance. Go to “Compute → Instances” and click on “Launch Instance”.
A pop-up window will appear and you have to fill in the required information in the different tabs.
Once you have setup the preferred configuration, click on “Launch instance” to create your virtual machine.
Warning
Once the instance has been created, it is possible only to modify the security groups and the flavor. If you need to change the network, or the key pair, you will need to create a new instance.
Associate a Floating IP
Once the virtual machine is created, you can associate a floating IP with the virtual machine. For more information on how to associate a floating IP with a virtual machine, refer to the Floating IP: allocate and associate.
Once the floating IP is associated with the virtual machine, you can access the virtual machine using it.
Accessing the instance
Note
If you created an instance using a default image available in the cloud computing, by default it is possible to login into the instance only by using the default user and key.
Suppose you have used the default ubuntu cloud image, you can login as:
$ ssh -i MyKey.pem ubuntu@<floating IP address>