Image: upload
The upload of an image can be done using both the Horizon Dashboard and the Command Line Interface: you are free to choose any of the available methods.
This page will guide you, the image owner, step by step in the upload of an image with the OpenStack Horizon Dashboard.
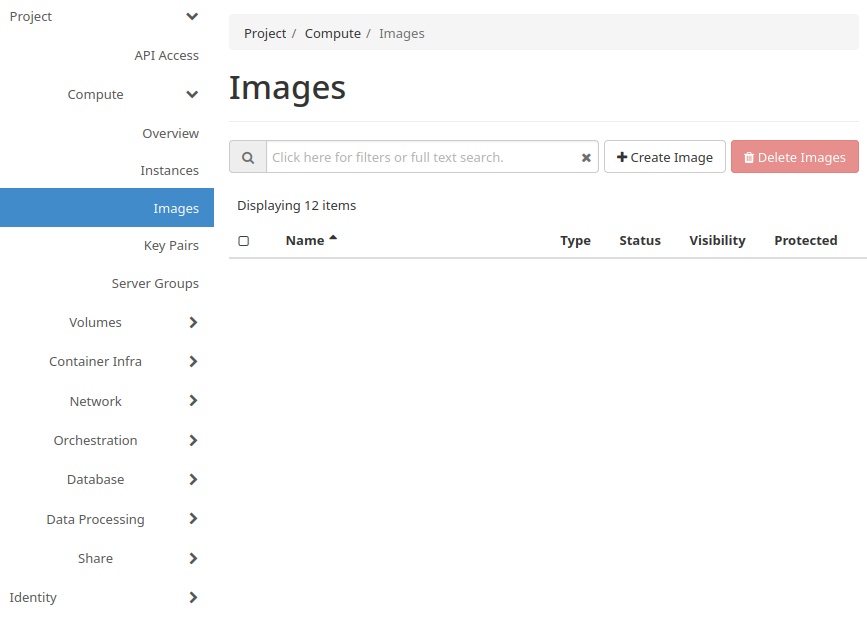
Once logged into the OpenStack Horizon Dashboard, go to “Images” in the left panel and click on “Create Image” button.
You have to fill the information in the following pop-up form:
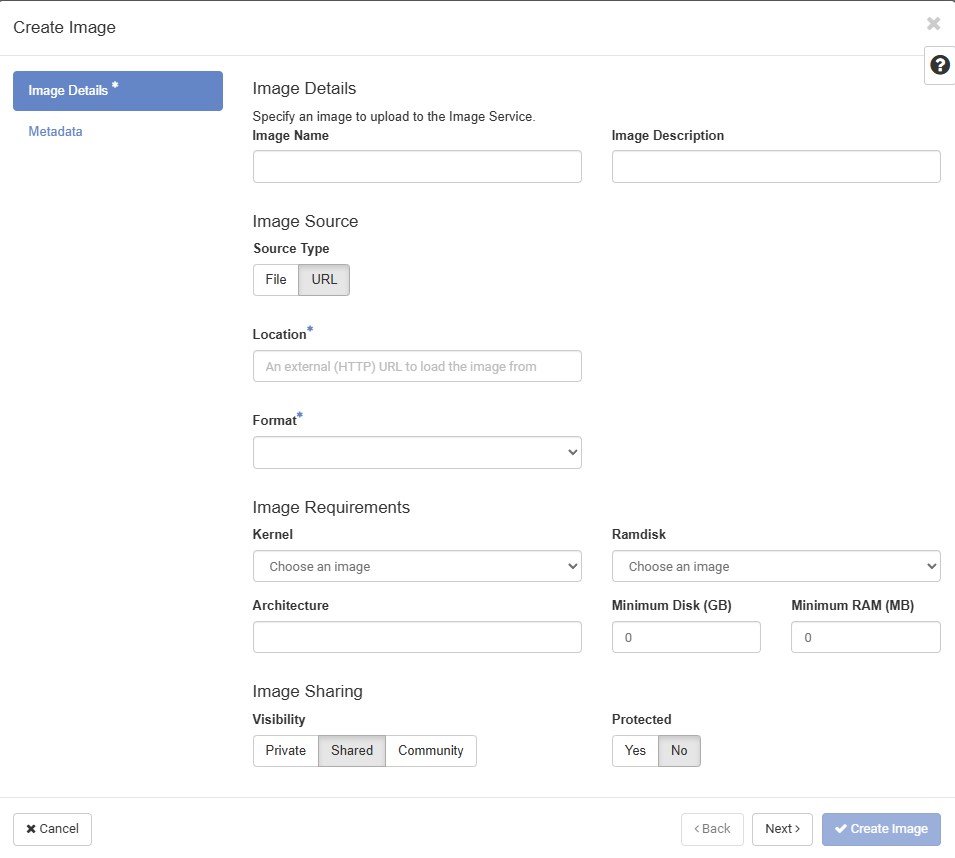
Under the tab “Image Details”, a name for the image file have to be written in the text box under “Image Name”: it is also a good practice entering a brief description of the image in the text box under “Image Description”.
Based on if the desired image is stored on your PC or is available online, indicate the appropriate “Source Type” as “File” or “URL” Depending on the previous choice, browse your PC to the location in which is stored the image file or paste the URL to where the image file is hosted.
From the “Format” drop-down menu, select the file format of the desired image to upload.
Subsequently, it is possible to specify optional advanced options as “Kernel” image, “Ramdisk” image, specify a string for the image “Architecture”, “Minimum Disk” quota in GigaByte and a “Minimum RAM” quota in MegaByte to boot the image.
The next step is to select the “Image Sharing” policies by choosing one of the three options under “Visibility” keeping in mind:
Private images can be used in instance creation only by the image owner.
Shared images can be used, by default, by all the users collaborating to the project with the image owner.
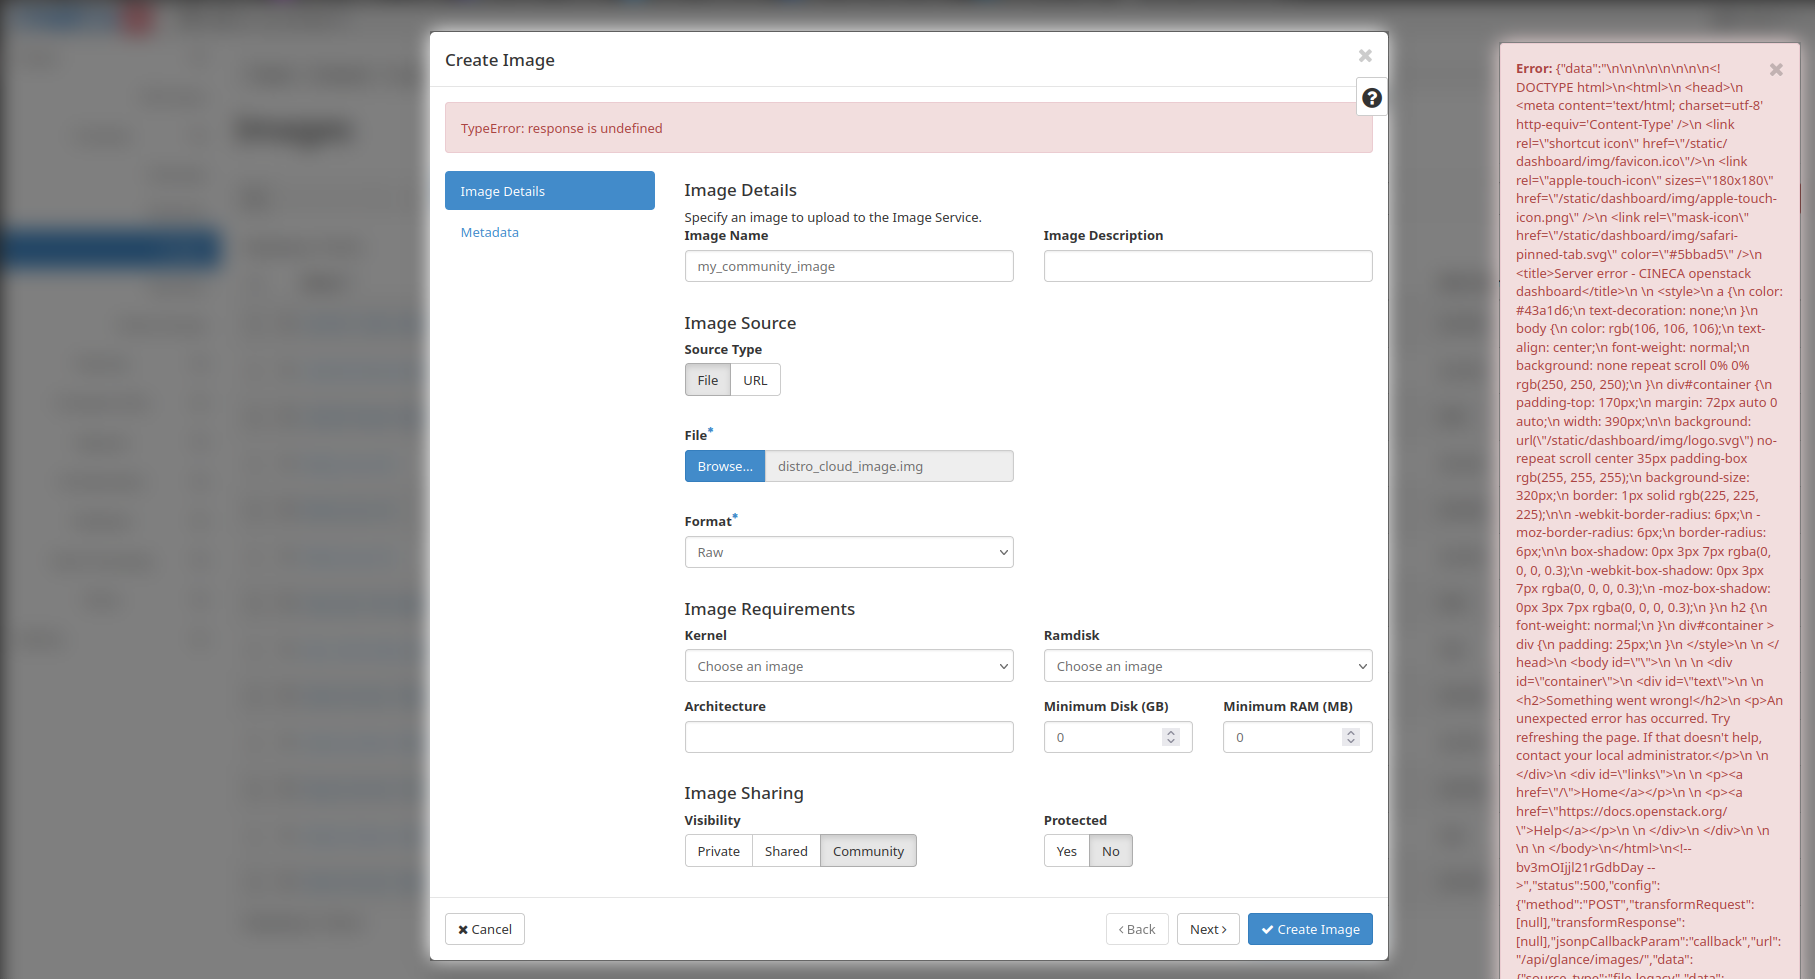
Community images are inhibited even if the option is available to all users. By uploading an image with visibility set to “Community” will raise the following error message preventing the beginning of the upload procedure:
Further information on image visibility can be found in Images, while a description of the risks associated in using community images can be found at Images.
Subsequently, it is possible to choose if the image is protected or not from deleting operations.
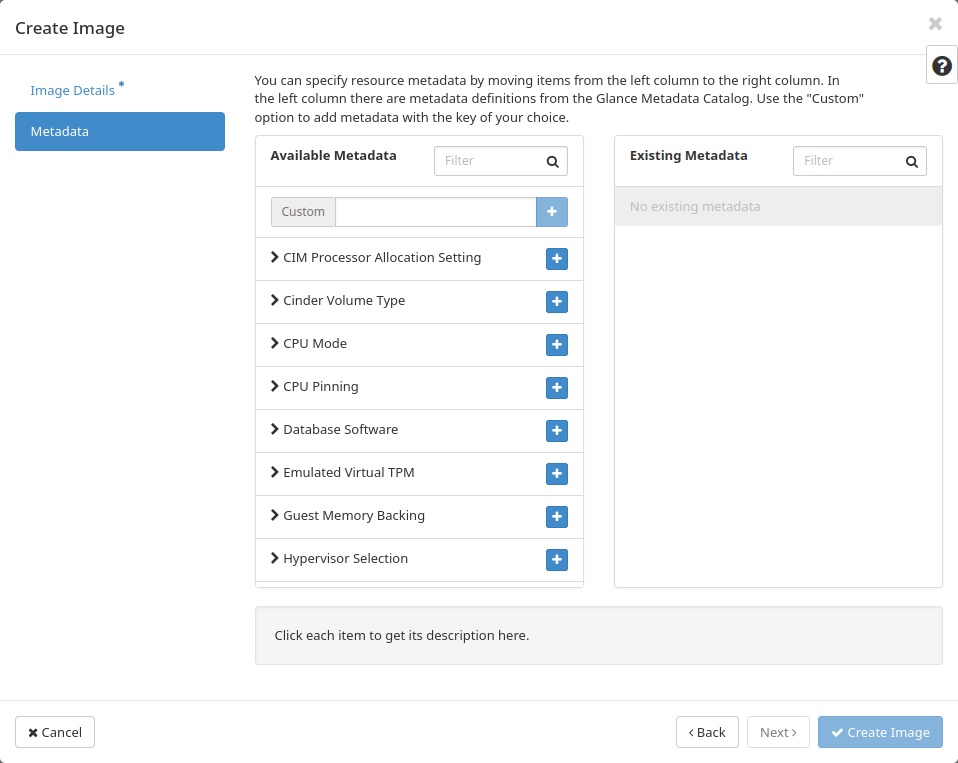
Finally, under the tab “Metadata”, it is possible to search the name of specific resources metadata in the “Filter” research field at the top of the “Available Metadata” list. Once found, clicking the blue “+” button will move the resource metadata under the “Existing Metadata” list allowing the declaration of its value.
Warning
- On GAIA, it is strongly suggested to upload images with the
.rawdisk format and to add the following metadata when uploading an image: Set the
hw_qemu_guest_agenttoyesSet the
os_require_quiescetotrue
However, in GAIA the image import operation is supported which allow user to add images to their project delegating to the procedure the application of metadata.
To complete de creation of the image, simply create the “Create Image” blue button at the bottom right corner of the pop-up window.