Router: create
On the Horizon Dashboard go to “Network → Routers” tab and select “Create Router” button.
In the pop-up window add a name for your Router and select the “External Network” from the dropdown.
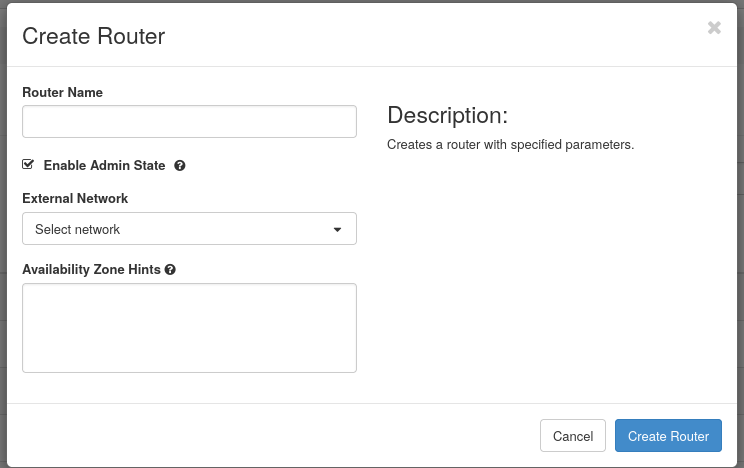
The external network is the one that allows your instances to access the Internet and to be accessed from the Internet.
On each HPC Cloud infrastructure, the external network could be named differently. Check the specific name of the external network under External Network paragraph in the cloud specific section for each system.
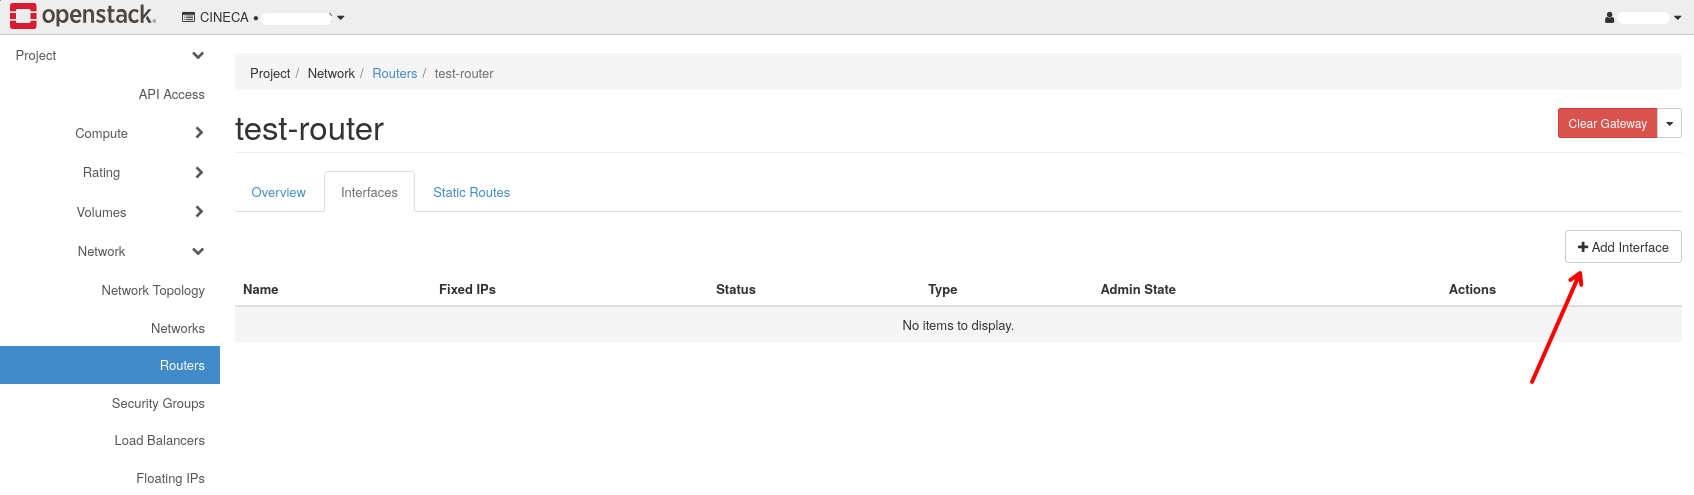
After creating the Router, you must add an internal subnet to it, in order to allow your instances to access the Internet. To do that, select the Router you just created, go to the “Interfaces” tab and click on “Add Interface” button.
In the pop-up window select the internal subnet you want to add to the Router and click on “Add” button.
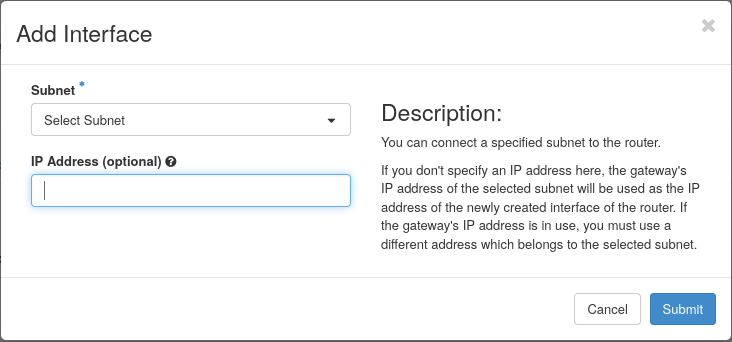
It is possible to specify the gateway IP address for the subnet, but it is not mandatory. If you do not specify it, the system will automatically assign an IP address from the subnet range.